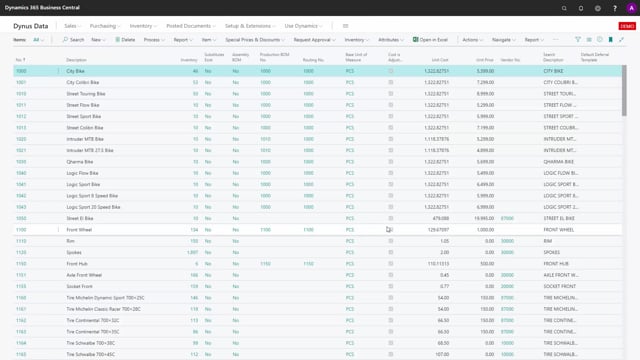
In this video I will run through the fields on the Request Page when you use Graphical Inventory Profile.
First of all in the header in the option you have the from date and to date. The from date will be the date where we start showing the previous inventory so even though the from date is in the future or in the past it will display the inventory as for now and the end date will be the day as far as we are looking meaning if we look at the profile for this one it will be the day before the the from date you enter because we need to have the start inventory and if you have previous demands or supplies they will be summed up on the day before from date as well.
The end date will be in the period in which you want to include demand and supplies. These are the first two fields. Include history will instead of showing the inventory as it is now it will calculate the inventory as it was on the from date and then show all the entities through the period meaning if you check mark the include history as you can see here the start inventory will be something else and then it will display all the demands and supplies and of course the end inventory should be the same as if you didn’t include history. You can select to include all sales order only release sales order or no sales order.
If you have the app Reverse Planning activated you can also include here the sales order handling lines. This function will only display if you have this app installed.
Likewise the app Assign Quantity if you have that installed this field will be shown as well and this field is meant to include the assigned quantity from the sales line instead of the actual quantity field.
Then we have the purchase order you can include all purchase orders only the released or no purchase orders. You can also include purchase quotes so if you work with purchase quotes and want to see the result on the inventory profile you can just check mark this one and if you have the app purchase order management which creates purchase handling lines this field will also display and you can include the purchase order handling lines which could have suggestions for other dates or quantity that is actually on the purchase order. This will only display if you have that app activated. Then you can select to include inbound and outbound transfer supply.
You can include forecast and if you select this one it will default the forecast from the manufacturing setup that you can change here if you have more than one forecast activated and this will show another graph a blue graph with the forecast and like when you run planning worksheets or standard planning you can exclude a forecast before a specific date so if you only want to see the forecast from two months from now for instance you can select this one.
Then you can select which production order to include and this is the output from the production or meaning the supply and you can select firm plant and released only released plant to released meaning all of them or no production order and likewise you can select to include production order components which is a demand and it’s from the production order line so it’s possible to include output meaning the production order only from released order and then component on plant to release for instance.
If you checkmark the include planning lines you can select to include all planning lines no planning lines that will default when you deselect it or only planning lines from start date meaning if you have a start date in the in the header you can filter out all planning lines before start date if you want to and then you also need to enter a planning worksheet template name and journal batch name so if you’re running this from a planning worksheet those will default be filled in when you select the include planning lines field otherwise you need to select them here on which planning worksheet to include and this include planning lines will provide a green graph inventory profile including planning lines.
If you use the app Reverse Planning you can include those line as well this is a simpler planning tool for making planning on critical items or movement of demand orders if you select that one those line will be included and then you can select other companies to look in instead of the specific company here so if you want to view the profile in another company that you have access to you can select that here.
In the end you can filter on item numbers and you can add filters from the item table all filters from the item table and likewise you can filter on totals from the items and the normal one will be the location filter and if you use dimension the global one or two dimension filter. You can find all the fields on the request page.

