
If you use item tracking codes in Microsoft Dynamics 365 Business Central, you must assign lot numbers, serial numbers, and expiration dates on inbound documents before you can post them. This applies to purchase orders, transfer orders, and other documents that bring items into inventory.
When an item requires lot number information and expiration date handling, posting fails until you fill in the Item Tracking Lines so the undefined quantity is exactly zero. You can split a received quantity across several lot numbers, each with its own expiration date.
On a transfer order, the lot number you assign when shipping carries over automatically to the receiving side. As the warehouse employee receiving the goods, you only need to verify the information before posting the receipt.
After posting, the lot number and expiration date information is written to the item ledger entries, where you can track exactly which lots entered inventory and through which documents.
Assigning item tracking on a purchase order
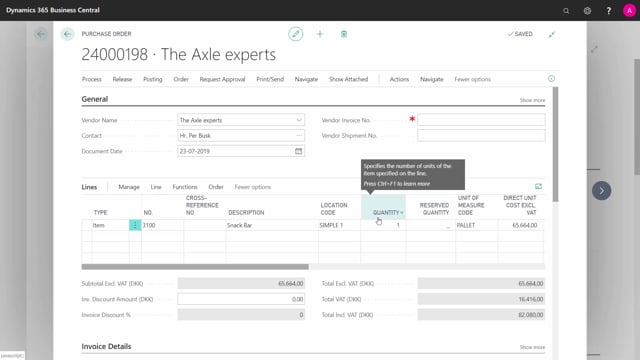
When you receive items on a purchase order, you handle item tracking on the inbound line. Take an example with a snack bar that both requires lot number information and requires expiration date handling. It comes in as a pallet with a fairly large quantity.
If you try to post the purchase order without entering any lot number or expiration date, you get an error. The system will not let the item into inventory without the required tracking information.
To handle this, open the Item Tracking Lines on the purchase line and enter the lot number. This is typically the lot number printed on the items you are receiving. In practice you often receive more than one lot in the same delivery.
For each lot, enter the lot number, the quantity, and the expiration date. After you enter the first lot, the system shows you the remaining undefined quantity. In this example, entering the first 10,000 units leaves an undefined quantity of 1,520. You then add the next lot number with its own expiration date until the undefined quantity reaches exactly zero.
Once the undefined quantity is zero, you can post the receipt.
How lot numbers reach the item ledger entries
After posting, the lot number information and expiration date information flow to the item ledger entries. Each lot becomes its own item ledger entry.
If you add the Quantity to Receive (Base) column, you can see the full base quantity you just received against the lot. This gives you a clear record of which lots entered inventory and in what quantities.
Item tracking on transfer orders
Transfer orders work a little differently because the goods must be shipped before they can be received. In an example where the transfer is already shipped, the quantity to ship is zero and the quantity to receive is 10.
When you open the Item Tracking Lines on the receipt side, the lot number is already filled in. That happens because the receipt is bound to the shipment you already posted, so the tracking information carries over automatically.
As the warehouse employee handling the receiving inventory, you only need to check that the prefilled information is correct. Then you can post the receipt and the transfer order is done.
There is one thing to be aware of. The inbound and outbound item tracking information is only bound together when you use item tracking on both sides. If you only use item tracking on either the inbound or the outbound side, the receipt is not tied to the shipment in the same way, and the lot numbers will not be prefilled.
Tracing handled lots in the item ledger
Once everything is posted, you can open the item ledger entries to trace exactly what happened. For the snack bar, you see the lot numbers that were just received, tied to the purchase document.
For another item, a fruit mix, you can see the lot numbers handled on the transfers. This gives you full visibility of which lots moved where, both for purchases and for internal transfers.
Q&A
Why can’t I post a purchase order with an item tracking code?
If the item requires lot number information or expiration date handling, you must enter that information in the Item Tracking Lines before posting. The system returns an error and blocks posting until the undefined quantity in the item tracking window is exactly zero.
Can I split a received quantity across several lot numbers?
Yes. You can enter multiple lot numbers in the Item Tracking Lines, each with its own quantity and expiration date. Keep adding lots until the undefined quantity reaches zero, then post.
Why is the lot number already filled in when I receive a transfer order?
The receipt is bound to the shipment you already posted, so the lot number carries over automatically. You only need to verify that it is correct before posting the receipt. This automatic link only works when you use item tracking on both the outbound and inbound sides.
Where do lot numbers and expiration dates end up after posting?
They are written to the item ledger entries, with each lot as its own entry. You can open the item ledger entries to see which lots were received and through which documents, both for purchases and transfers.