
This article shows you how to create and post a purchase credit memo in Microsoft Dynamics 365 Business Central when you need to return items to a vendor.
You use a purchase credit memo when you have already posted a purchase invoice and receipt, but then return part of the delivery to the vendor. In the example, you receive items, post the invoice, and then discover that 15 units are defective and need to go back.
The fastest way to create the credit memo is to use Copy Document and select the posted invoice. This automatically sets up the application against the original invoice, so the credit memo offsets the correct vendor ledger entry.
You can also enter the lines manually and apply them afterwards through Actions, Functions, and Application. Both methods work. Copy Document just removes a step.
After posting, you check the vendor ledger entries. You now see two entries that net out to the correct remaining balance, so you pay the vendor only what you actually owe.
When to use a purchase credit memo
The scenario is straightforward. You have received a quantity of items from your vendor, received the invoice, and posted both the invoice and the receipt. Before you pay the amount, you discover that 15 of the items are bad. You agree with the vendor to send them back.
Before doing anything else, it is worth checking what you currently owe the vendor. Navigate to the specific vendor and open the vendor ledger entries from the navigation. In this example there is only one ledger entry, with an amount of 1,743 euros. That is the balance you want to correct once the items go back.
Creating the credit memo with Copy Document
Go to Purchase Credit Memos and create a new one for the specific vendor. From here you have two options. You can enter the lines manually, or you can copy them from an existing posted invoice or shipment.
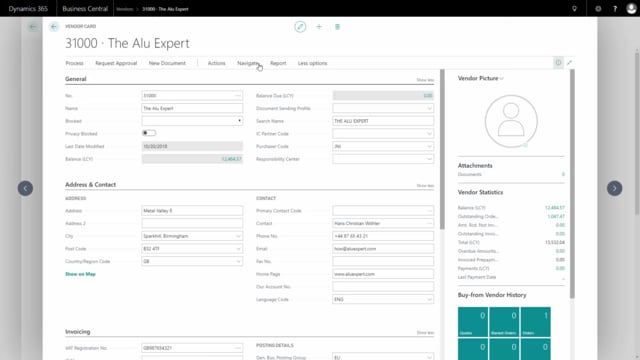
The recommended approach is to use Copy Document. Under the Process group, choose Copy Document and select the posted invoice. In this example, that is the invoice from vendor 31000, The Alu Expert. Copy the complete document and then delete the lines you do not need.
The reason for copying the whole document and deleting lines is to get the application correct automatically. Because you copied the posted invoice, Business Central sets up the application back to that invoice for you.
Adjusting the lines and recording the vendor’s credit memo number
Delete the lines you are not going to credit, then change the quantity on the remaining line to 15, which is the number of units you are sending back.
You send this to the vendor and agree on the return. When you receive the actual credit memo document from the vendor, you enter their credit memo number in the Vendor Cr. Memo No. field on the document. That keeps your records aligned with the vendor’s paperwork.
Applying the credit memo manually if you enter lines yourself
If you choose to enter the lines manually instead of using Copy Document, the application is not set up automatically. In that case, before posting you click Actions, then Functions, then Application. In the application window you choose the invoice lines you want to apply the credit memo to.
With Copy Document, this happens for you, so there is no need to apply manually.
Posting and checking the result
Once the lines and the application are in place, post the credit memo. You then have a posted purchase credit memo.
To confirm the effect, go back to the vendor ledger entries from the vendor card. You now see two vendor entries: the original invoice and the new credit memo. Together they leave the correct outstanding balance, so you are ready to pay the vendor exactly what you owe.
Q&A
When should you use a purchase credit memo in Business Central?
Use a purchase credit memo when you have already posted a purchase invoice and receipt, but then need to return part of the delivery to the vendor. It corrects the vendor balance so you only pay for the items you keep.
How do you make sure a purchase credit memo applies to the correct invoice?
Use Copy Document and select the posted invoice. This automatically sets up the application against that invoice. If you enter the lines manually, you apply them yourself through Actions, Functions, and Application before posting.
How do you create a credit memo line for only the returned quantity?
Copy the complete posted invoice, delete the lines you are not crediting, and change the quantity on the remaining line to the number of units you are sending back, for example 15.
Where do you enter the vendor’s own credit memo number?
Enter it in the Vendor Cr. Memo No. field on the credit memo document once you receive the actual credit memo from the vendor.
How do you check that the credit memo worked?
Open the vendor ledger entries from the vendor card. You should see two entries, the original invoice and the new credit memo, which together show the correct remaining balance to pay.