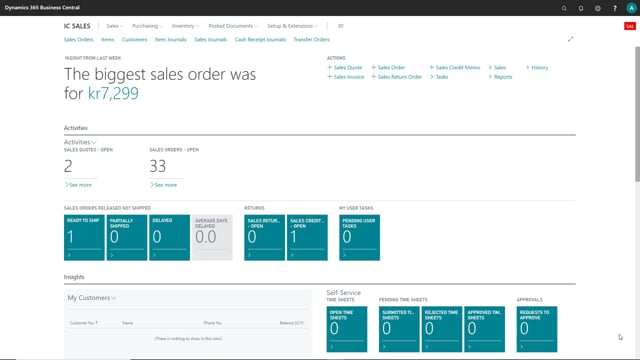
So let’s go through some of the setup that is required for the intercompany app.
This is what happens in the video
I’ll search for the intercompany app setup. There it is, and now let’s go through all the fields and possible setups you can do here. At first up here, we have the general dimension mapping, and here you can choose standard or one to one.
So if you choose standard, the standard intercompany dimension is required, then you need to map all of your dimensions the way you would like it to be.
If your dimensions are the same in both companies, you can just choose this one “one to one”, and then the dimensions will automatically be mapped and sent between the companies.
And here we have the IC company type, and here you can choose between a sales company or supply company, and basically what this does is just narrows down what you see on your intercompany partner card, so that you’ll only see the fields that are specific for either a sales company or an inventory company.
In the next one here, you can auto release combined invoice, and that’s when your invoice is created, it will normally just be opened, but you can set here if you would like for it to be released automatically.
Here we have the default from buy from vendor, and that is set up for the intercompany vendor.
And here you have your receipt posting date, here you can choose between original, workdate, and document date.
This is the date that will be set on your purchase header. If you choose original, then nothing will be updated between the companies. If you choose workdate, then the posting date will be workdate.
If you choose document date, then the posting date from your intercompany partner will be set as the posting date on your own document.
And down here, we have some automatic. You can Auto transfer outbox transaction, when this is activated then the program will automatically attend to export an intercompany outbox transaction as soon as it is created. So this will normally just be activated.
And here you have the auto accept outbox export confirmation, that’s a long one, but it’s basically whenever you do an intercompany transaction as standard, a box will come up saying would you like to accept this, and if you always want this to be accepted you can activate the field here, and then you won’t get the message all the time.
So that’s it with the intercompany app setup.

