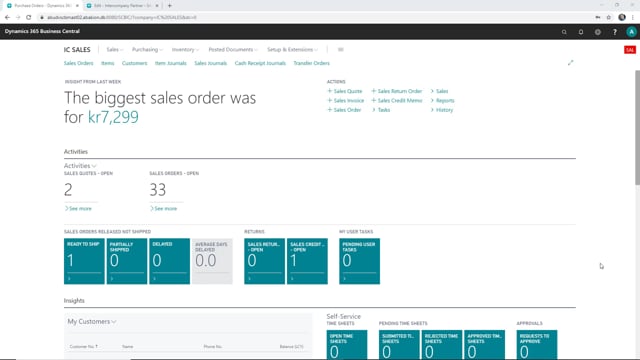
Okay, So let’s take a look at the intercompany partner setup and what we are able to set up here, right now, I’m in a sales company and because of the setup on the intercompany app setup, what I will see on my intercompany partner will be related to what I need to set up for our sales company.
This is what happens in the video
There’s a video on the intercompany app setup as well. So I’ll just find my intercompany partner. And this is the intercompany partner setup for my supply company.
So there’s a lot of extra functionality or extra setup that you can do here on the intercompany partner for the intercompany app. And of course, there’s also the standard fields here. So we have the code for this intercompany partner and a name. You can set up a currency code for this if you want to, and here you can choose to transfer type.
This is more used when you don’t use the intercompany app, but you can choose between different transfer types here.
When we used intercompany app we would like to use the transfer type web service, you can checkmark this here, and then the company name, this is required when you don’t use the web service you need to set this up here, here you can activate auto accept transaction, and you can block this IC partner.
This one here the auto accept transaction, you don’t need to activate this when you use the intercompany app.
Here we have some for the sales transactions, and since I’m in a sales company right now, what I’ll be doing mostly with my intercompany partner here the purchase transaction, but let’s just go through here.
You can set up the customer name, this is if you want to do some sales as well to another intercompany partner.
You can set up the receivable accounts, and the outbound sales item number type, you can set up here if you want to do internal number, common item number, or cross references, there’ll be another video on that.
And here you can activate if you should auto release outbound purchases. And if you should be allowed to do an intercompany inventory check, and here you can allow outbound order changes as well.
In the purchase transaction you set up here your vendor number for your intercompany partner, the payable accounts, and again here you can set up the outbound purchase item number type, again should it be internal numbers, common item numbers, cross references, or the vendor item number.
You can specify if the cost distribution should be in the LCY, and you can set up here, if you would like to transfer the description from the purchase invoice line to the intercompany journal line.
So if you checkmark this, then the description will be sent as well. Then we have some set up regarding the plot prices.
Let’s just start with this one, the IC discount type you can set up if you would like to use the discount type between your purchase prices or your sales prices.
And if you when you have chosen one of these, you can just define should there be some sort of discount, we can say 15% or 20% discount when you work between the two companies.
These fields will only be useful or activated, if you’re on your intercompany partner in your supply company have set these up to accept prices from your intercompany partner. And at the end here we have the web service setup.
There’s another videos that describe this more in detail, but here you set up the web service for the intercompany.

