
When you produce items on a location with directed put-away and pick in Microsoft Dynamics 365 Business Central, posting the output places the item on the production bin, not in your regular inventory storage. To move it from the production bin to an inventory bin, you create a warehouse movement from the movement worksheet. This guide shows you the full flow from posting output to posting the movement.
You post output using a production journal or output journal. That puts the item on inventory and creates a warehouse entry on the production bin.
You then use the movement worksheet to create an inventory movement. You specify the item, the bin to pick from, the bin to put it away to, and the quantity.
The result is a warehouse movement document that your warehouse staff use to physically move and put away the item. Once you register and post the movement, the item sits in your chosen inventory bin.
Posting production output on a directed put-away and pick location
On a location set up with directed put-away and pick, you post output from a production order using a normal production journal or an output journal. This does two things. It puts the item on inventory, and it creates a warehouse entry on the production bin.
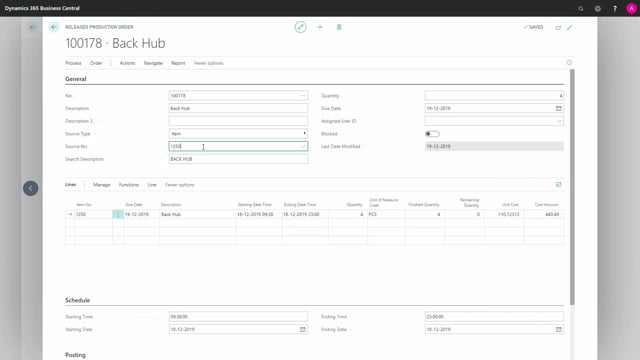
In a typical scenario, you have posted the output and you now have a warehouse entry telling you the item is on a specific bin. For example, 4 pieces on bin 120. The item is technically on inventory, but it still sits on the production bin rather than in a regular storage location.
Creating an inventory movement from the movement worksheet
To get the item from the production bin into inventory storage, you use an inventory movement. You create that from the movement worksheet.
You go to the movement worksheet and enter the details manually:
- The item you produced
- Where to pick it from (the production bin)
- Where you want to put it on inventory (the destination bin)
- The quantity
Then you create the warehouse movement. This gives you a document that your warehouse staff use to put the item away.
Registering and posting the warehouse movement
With the warehouse movement created, you open it and enter the movement into the bin code you have chosen as the destination. You can also create the bin code afterwards if you need to.
Once you post the movement, the item moves off the production bin and lands in your inventory bin. From there it is available in your regular warehouse storage.
Q&A
What happens when you post production output on a directed put-away and pick location?
Posting the output using a production journal or output journal puts the item on inventory and creates a warehouse entry on the production bin. The item stays on the production bin until you move it to a regular inventory bin.
How do you move a produced item from the production bin to an inventory bin?
You create an inventory movement from the movement worksheet. Enter the item, the bin to pick from, the destination bin, and the quantity, then create the warehouse movement.
What is the movement worksheet used for in this process?
The movement worksheet lets you manually set up the warehouse movement. You define the produced item, the source bin, the destination bin, and the quantity, which generates a movement document for the warehouse staff to act on.
Do you have to create the destination bin code before making the movement?
No. You can create the bin code afterwards and then enter the movement into that bin code before you post it.
When is the item finally placed in inventory storage?
The item lands in your chosen inventory bin once you post the warehouse movement. After posting, it leaves the production bin and is available in regular warehouse storage.